
 Bring your own hardware
Raspberry Pi Digital Signage
Turn a supported Raspberry Pi into a managed signage player for menus, directories, announcements and dashboards. Build content in your browser, pair the screen with a 4-digit code and manage it alongside every other E Display player.
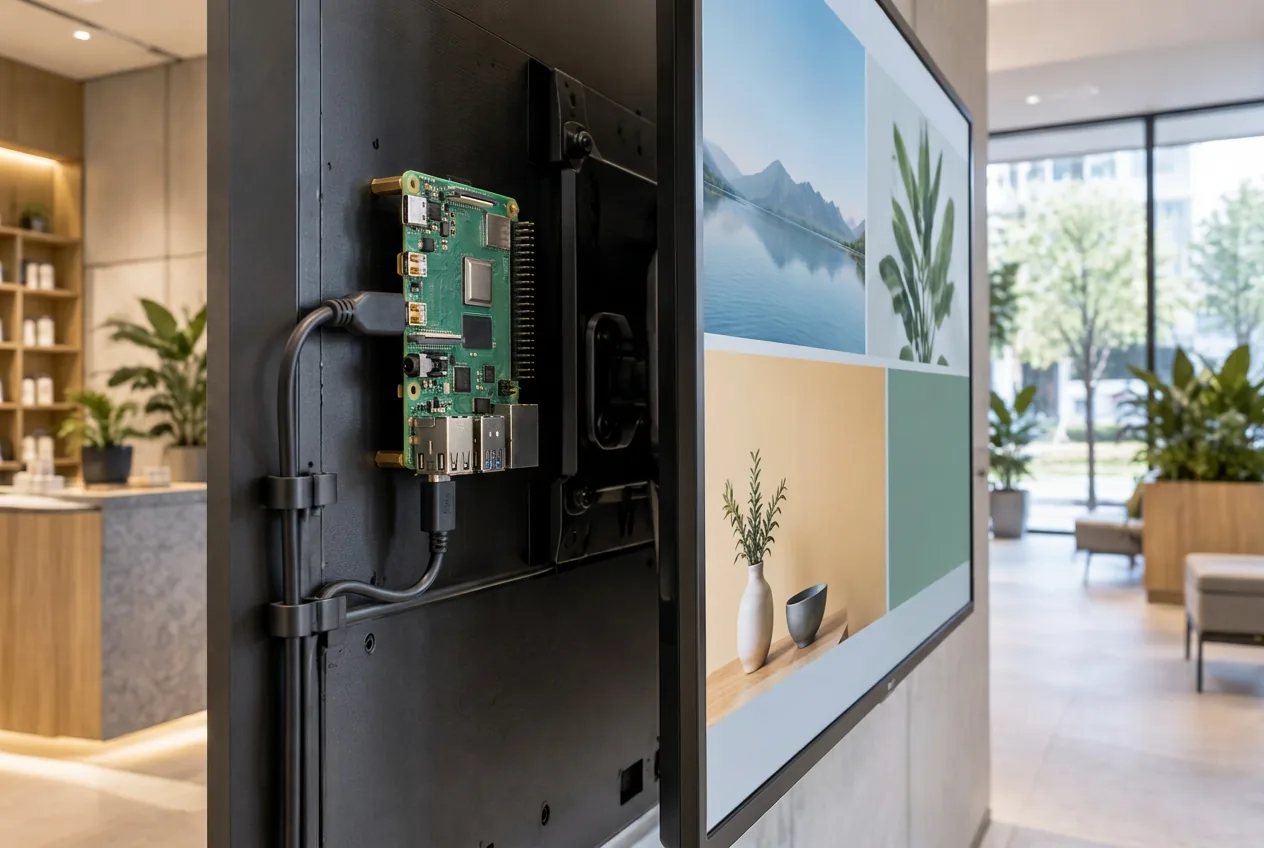
A practical way to reuse hardware you already own
A Raspberry Pi is a small computer that can sit behind a screen and run the E Display sign player app. It is a sensible choice when your team already has Pi hardware, is comfortable preparing it and wants the flexibility of a general-purpose device.
The Pi handles playback while the day-to-day work happens in the E Display sign studio browser dashboard. Your content manager does not need to visit the screen to change a menu, replace an announcement or adjust a schedule. One account can manage all the players together.
Boards and official accessories come from the Raspberry Pi website at raspberrypi.com and its network of authorized resellers, so you buy the exact model your screen needs instead of accepting whatever a vendor bundles with a licence.
What you need
The Pi is only one part of the player. A dependable installation also needs stable power, storage, cooling and a network connection for updates.
- A supported Raspberry Pi in a ventilated case
- Reliable storage suitable for regular playback
- A stable power supply made for your Pi
- An HDMI cable or adapter for the display
- Ethernet or reliable Wi-Fi for setup and updates
- One E Display licence for each connected screen
A Raspberry Pi is priced between $65 and $200.
Where a setup lands in that range depends on the model and memory you choose, and whether you buy the board on its own or in a kit with a case, power supply and storage. Current models and prices are on the official Raspberry Pi website at raspberrypi.com, along with authorized resellers. Your E Display licence is separate at $8 per screen per month.
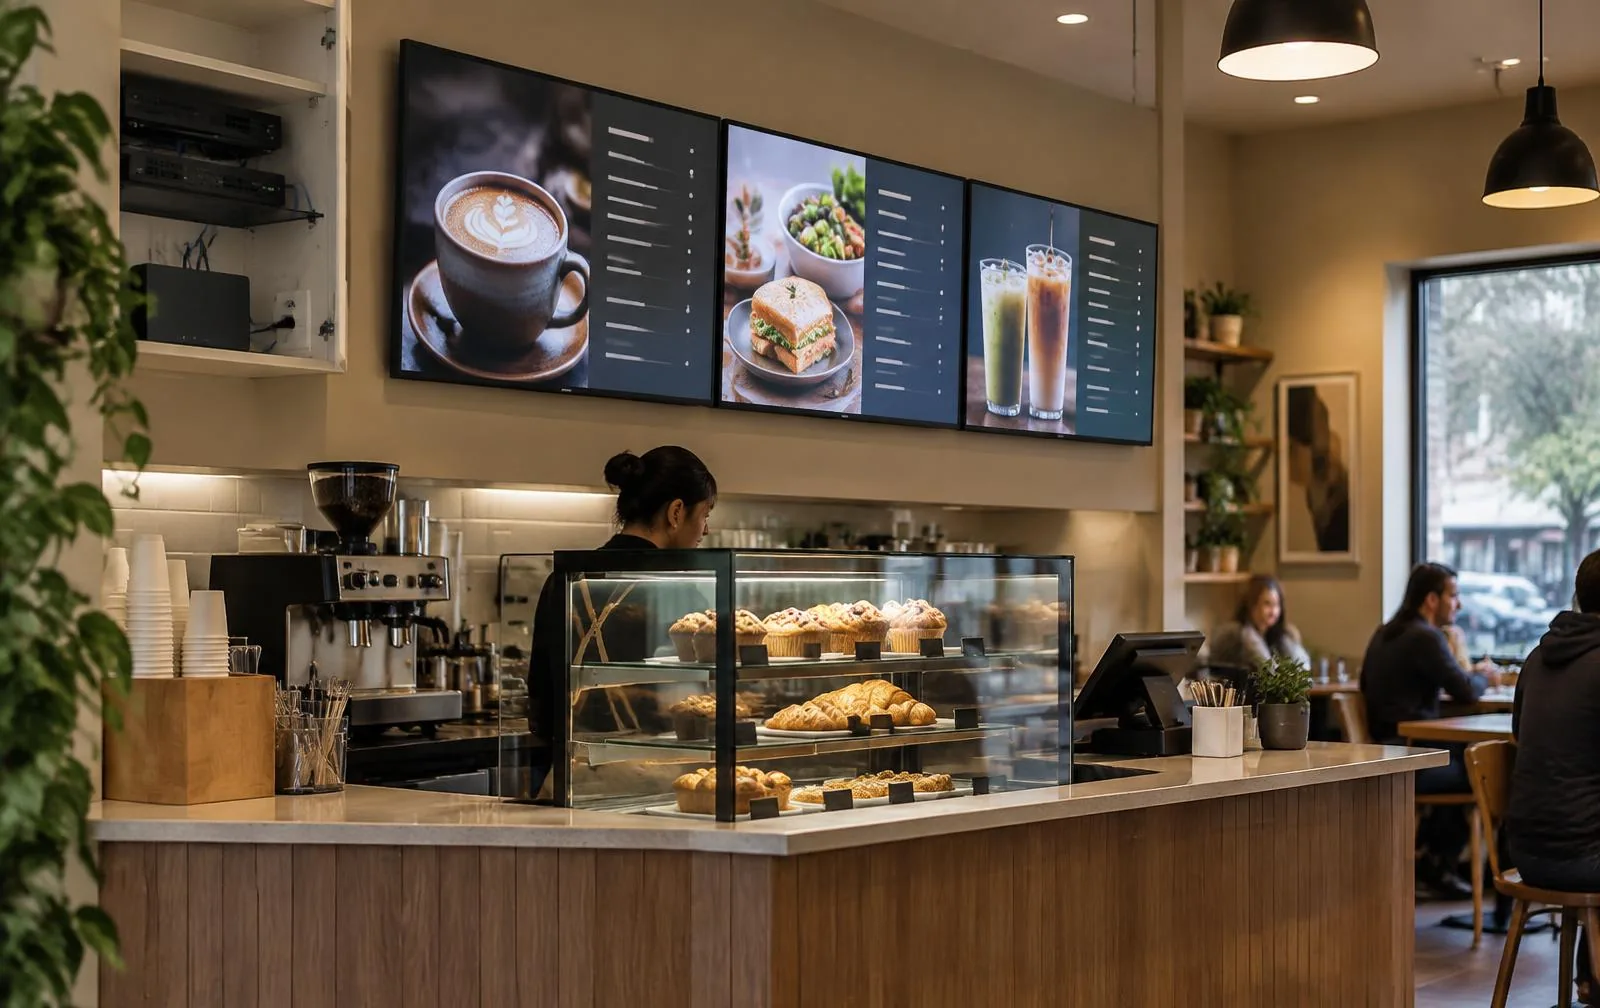
What Raspberry Pi signage can show
The best results come from matching the content to the player and testing the exact playlist before deployment. For everyday signage, that can include:
- Restaurant menu boards
- Lobby welcome screens
- Digital building directories
- School announcements
- Retail promotions
- KPI and information dashboards
Planning a specific use? Explore our digital signage solutions or see the ready-made designs in our template library.
How to set up Raspberry Pi digital signage
Prepare the Raspberry Pi
Start with compatible hardware, dependable storage and a suitable power supply. For an unattended screen, use a case with enough airflow and mount it where cables cannot be pulled loose.
Connect the display and network
Connect the Pi to the screen by HDMI, then use Ethernet or Wi-Fi. A wired connection is worth considering in busy locations or wherever the wireless signal is inconsistent.
Install and pair the player
Install the E Display player app. The screen presents a 4-digit pairing code; enter it in your browser dashboard to add that screen to your account.
Assign content and publish
Choose a scene or playlist, set the schedule and publish. The player downloads its content and stores it locally so playback can continue during a temporary internet outage.
Raspberry Pi or TX9: which player fits?
Both connect to the same E Display software. The difference is how much of the hardware preparation you want to handle yourself.
| Consideration | Raspberry Pi | E Display TX9 |
|---|---|---|
| Best for | Teams reusing compatible hardware | Teams wanting plug-and-play hardware |
| Hardware cost | Board priced between $65 and $200 | $50 player, free with an annual licence |
| Time to first screen | About 10 to 15 minutes | Under 5 minutes |
| Preparation | You prepare the Pi, storage, case and power | Player arrives ready for E Display setup |
| Pairing | 4-digit code | 4-digit code |
| Content management | E Display browser dashboard | E Display browser dashboard |
| Offline playback | Cached content keeps playing | Cached content keeps playing |
| Licence | $8 per screen/month billed annually | $8 per screen/month billed annually |
Expect different setup times. A Raspberry Pi takes about 10 to 15 minutes per screen to prepare the board and install the E Display Sign Player app. A TX9 is usually up and running in under 5 minutes because it arrives ready for E Display setup.
Raspberry Pi digital signage FAQs
Straight answers before you prepare a player or commit to a larger deployment.
How do you use a Raspberry Pi for digital signage?+
Prepare a supported Raspberry Pi, connect it to the display by HDMI and install the E Display player app. After the player connects to the internet, enter the 4-digit code shown on screen in your E Display account, assign content and publish.
Can I use a Raspberry Pi as a digital signage player?+
Yes. E Display supports Raspberry Pi as a bring-your-own-device media player. It can run scheduled images, videos, menus, announcements and other screen content managed from the same browser dashboard as your other E Display players.
Can I reuse a Raspberry Pi I already own?+
Often, yes. Compatibility and smooth playback depend on the model, operating system, storage and the content you plan to show. Contact E Display with the model number before a larger rollout and test one screen first.
How much does a Raspberry Pi cost for digital signage?+
Raspberry Pi boards are typically priced between $65 and $200 depending on the model, memory and whether you buy the board alone or in a kit with a case, power supply and storage. Current models and prices are listed at raspberrypi.com. The E Display licence is billed separately at $8 per screen per month.
Will Raspberry Pi digital signage keep playing without internet?+
Once content has synced, the E Display player caches it locally so scheduled media continues playing through a temporary connection loss. Internet access is still needed for the initial setup, content changes and status reporting.
Does Raspberry Pi digital signage work in portrait mode?+
Yes. Screen orientation is managed per player, so a Raspberry Pi can power a landscape menu board or a portrait directory when the connected display and installation support that orientation.
Should I choose a Raspberry Pi or the E Display TX9 player?+
Choose Raspberry Pi when you already own compatible hardware or want a flexible small-computer setup; plan on 10 to 15 minutes per screen to prepare the board and install the E Display Sign Player app. Choose the TX9 when you want the simplest plug-and-play path, usually on screen in under 5 minutes with hardware supplied and supported by E Display. Both use the same cloud software and per-screen licence.
Check your Raspberry Pi before you deploy
Tell us which model you have and what you want to display. We will help you confirm compatibility and choose the simplest player setup for the job.