
How digital signage works
Few simple steps from an unboxed TX9 player to live content on your screens. No servers, no installers, and no technical background needed.
- Live in under 15 minutes
- Works with any HDMI screen
- Manage every location from one browser tab
What you need to get started
A screen
Any TV, monitor, or commercial display with a spare HDMI port.
A TX9 player
$50, or free with a new yearly license. Free shipping in the US and Canada.
Internet
Wi-Fi or Ethernet. Content is cached locally for offline playback.
Your content
Images, video, menus, or one of our free templates.
Step by step setup guide
The same process whether you run one screen in a lobby or hundreds across every location.
Connect the TX9 player to any screen
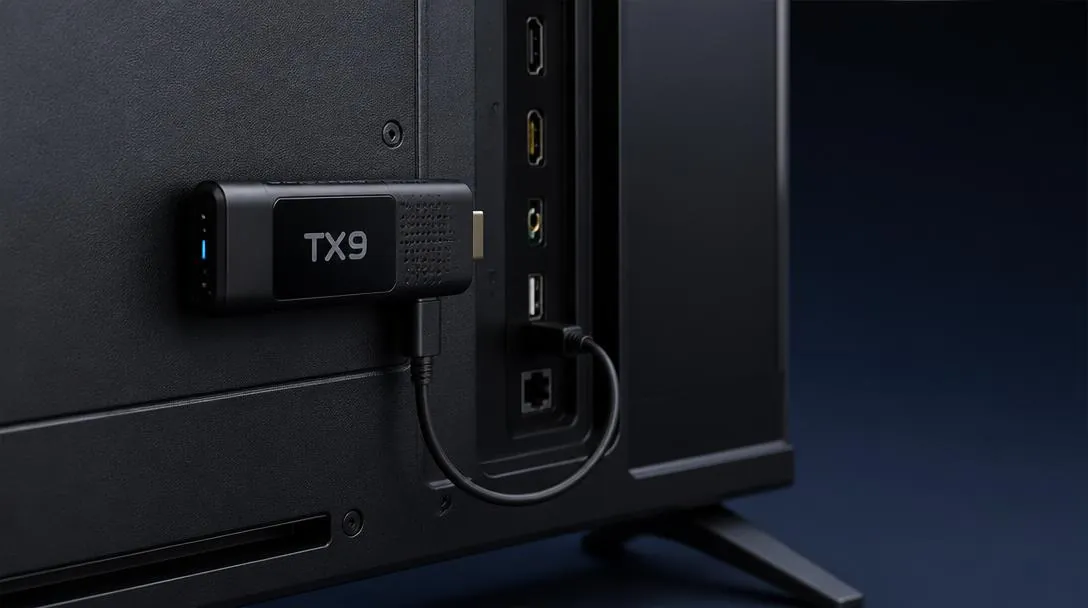
Plug the TX9 media player into a free HDMI port on any TV, monitor, or commercial display, then connect the USB power cable. No dedicated PC, no new cabling, and no proprietary hardware required.
- Works with any HDMI TV or commercial display
- Portrait or landscape, set in TX9 player
- Tucks out of sight behind the screen
Get online and pair with a 4-digit code
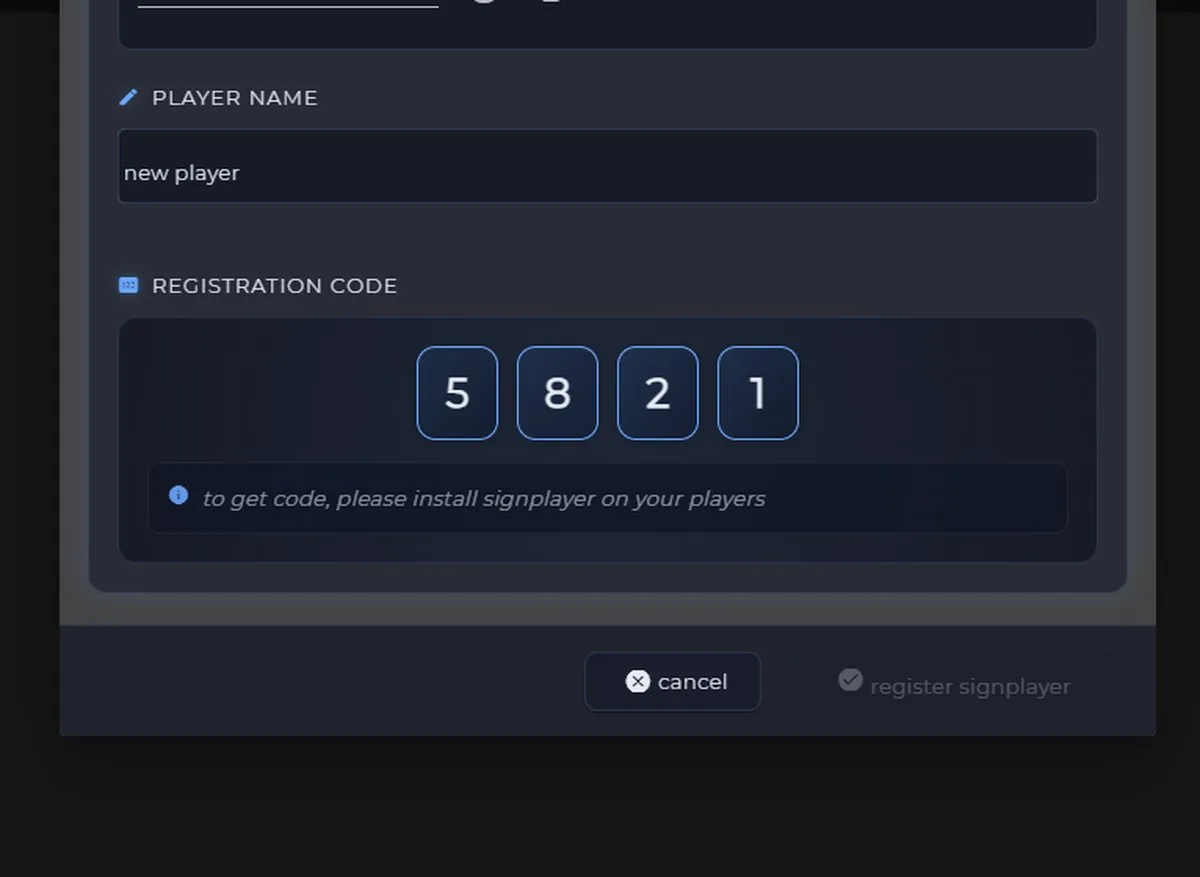
Power on the screen and connect the TX9 to your Wi-Fi, or use a USB-to-Ethernet adapter for a wired connection. Follow the initial setup. The player then shows a 4-digit registration code on the display.
- 2.4 GHz and 5 GHz Wi-Fi, or wired Ethernet
- Enter the 4-digit code in Sign Studio to claim the screen
- One license per screen, activate in seconds
Design your content in Sign Studio
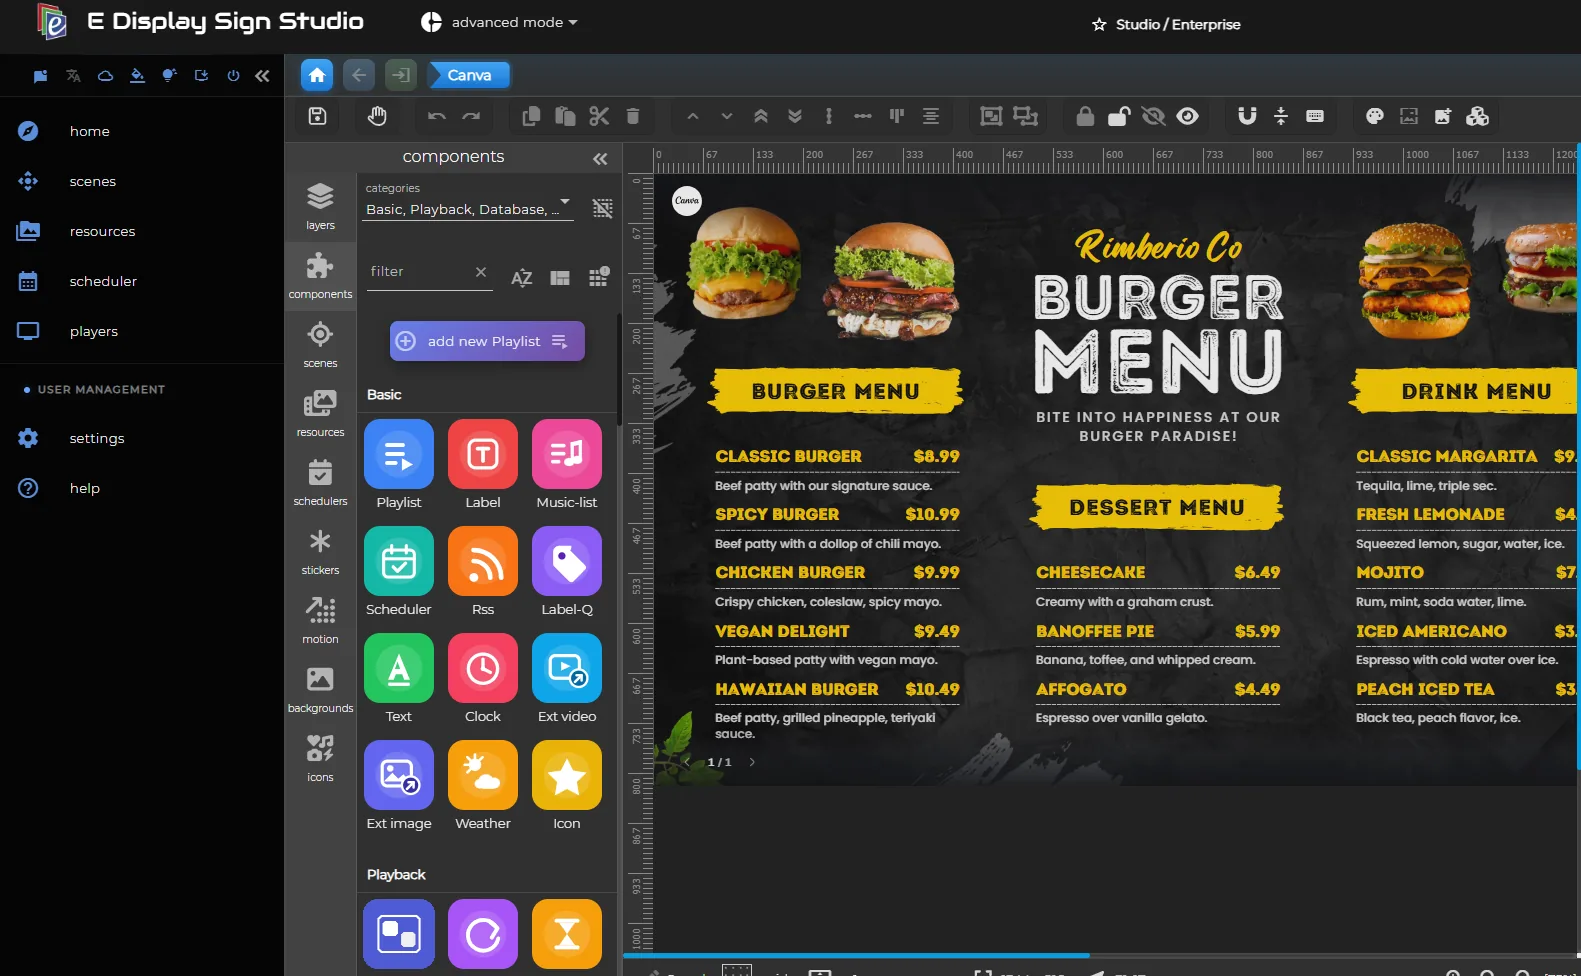
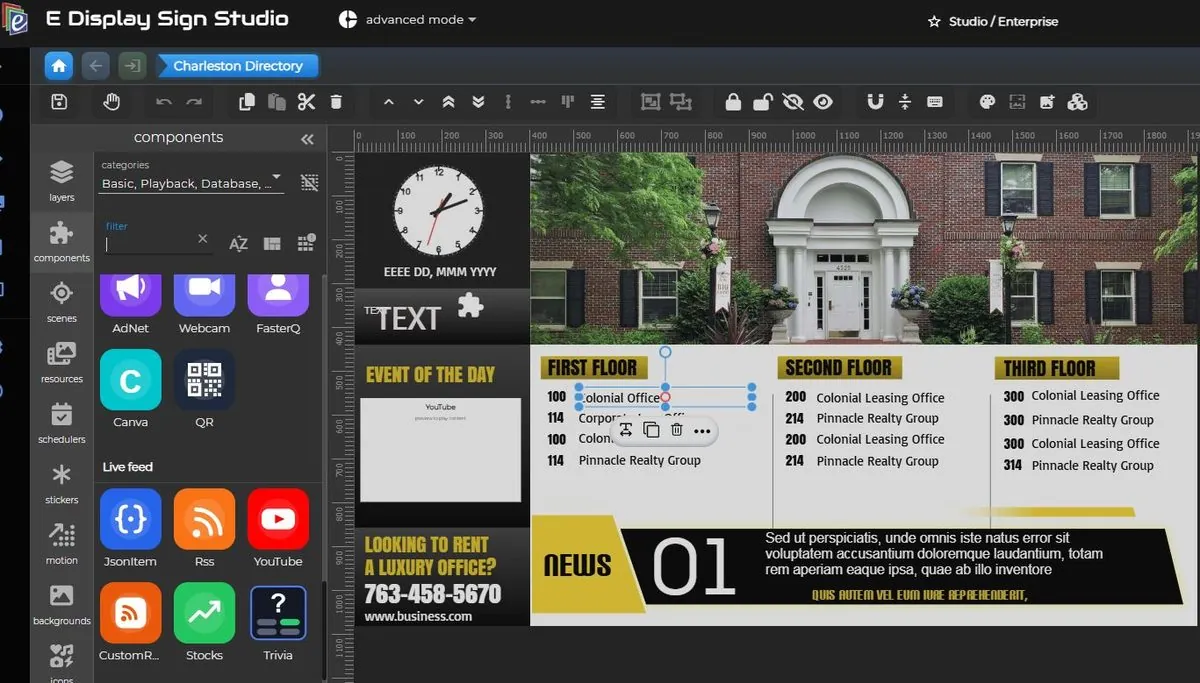
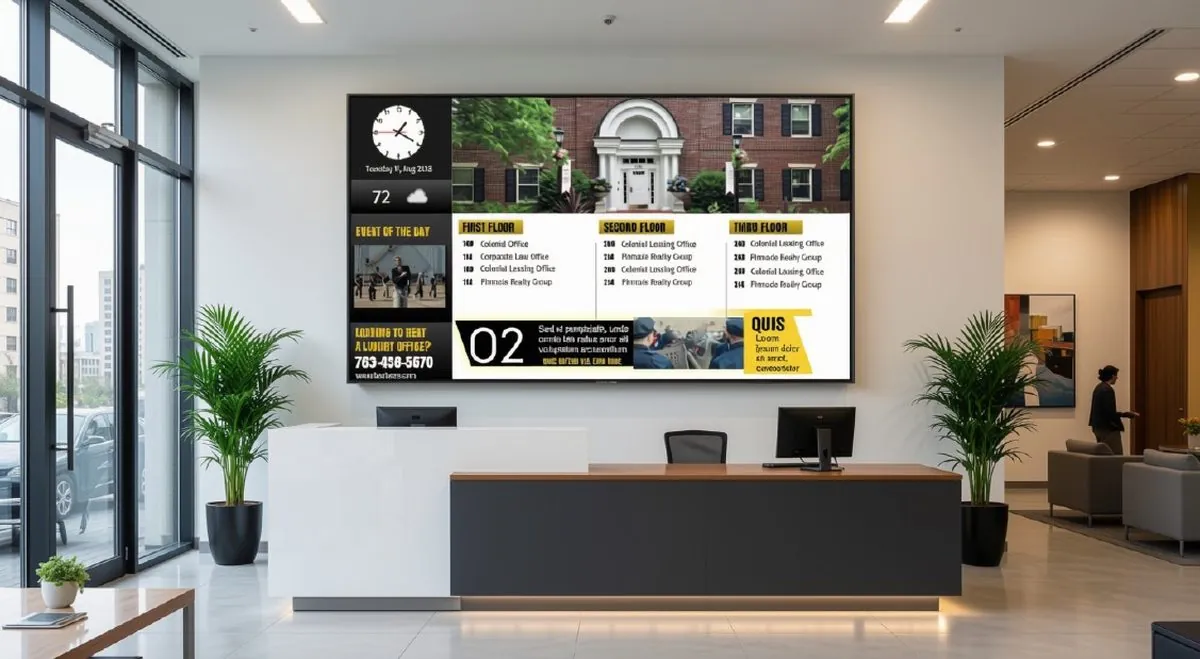
Start from hundreds of ready-made templates or build your own scene with the drag-and-drop Painter editor. Add images, video, menus, prices, and 60+ built-in apps such as weather, clocks, RSS, social feeds, and Google Sheets.
- Drag-and-drop editor, no design software needed
- 60+ built-in digital signage apps and live data feeds
- Free template library for menus, promos, and directories
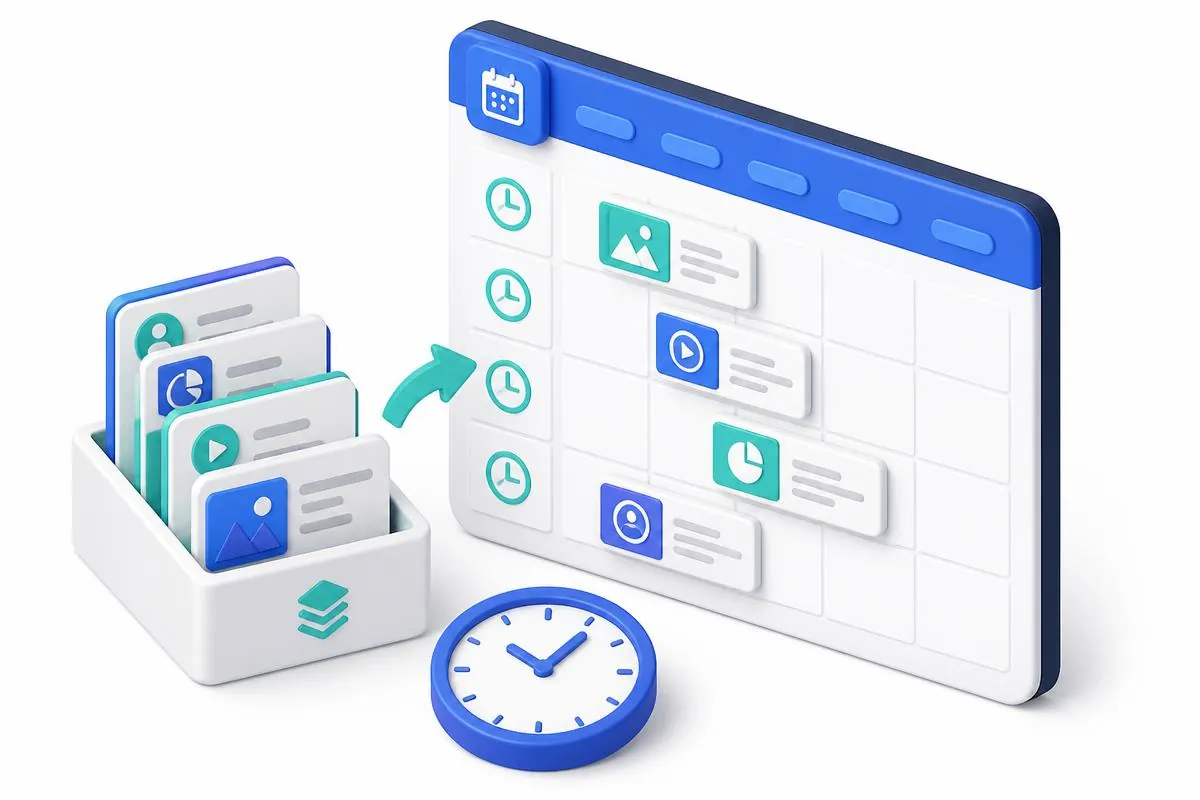
Build playlists and schedule them
Group your scenes into playlists, set durations and transitions, then schedule by day, time, or date range. Dayparting means breakfast menus swap to lunch automatically, with no one touching the screen.
- Dayparting and date-range campaigns
- Different content per screen, group, or location
- Repeat, loop, and priority rules
Publish to every screen instantly
Hit publish and your screens update over the air in seconds. Each TX9 caches its content locally, so playback keeps running even if the internet connection drops.
- Over-the-air updates to one screen or thousands
- Offline playback from local cache
- 4K playback with smooth transitions
Monitor, report, and get support
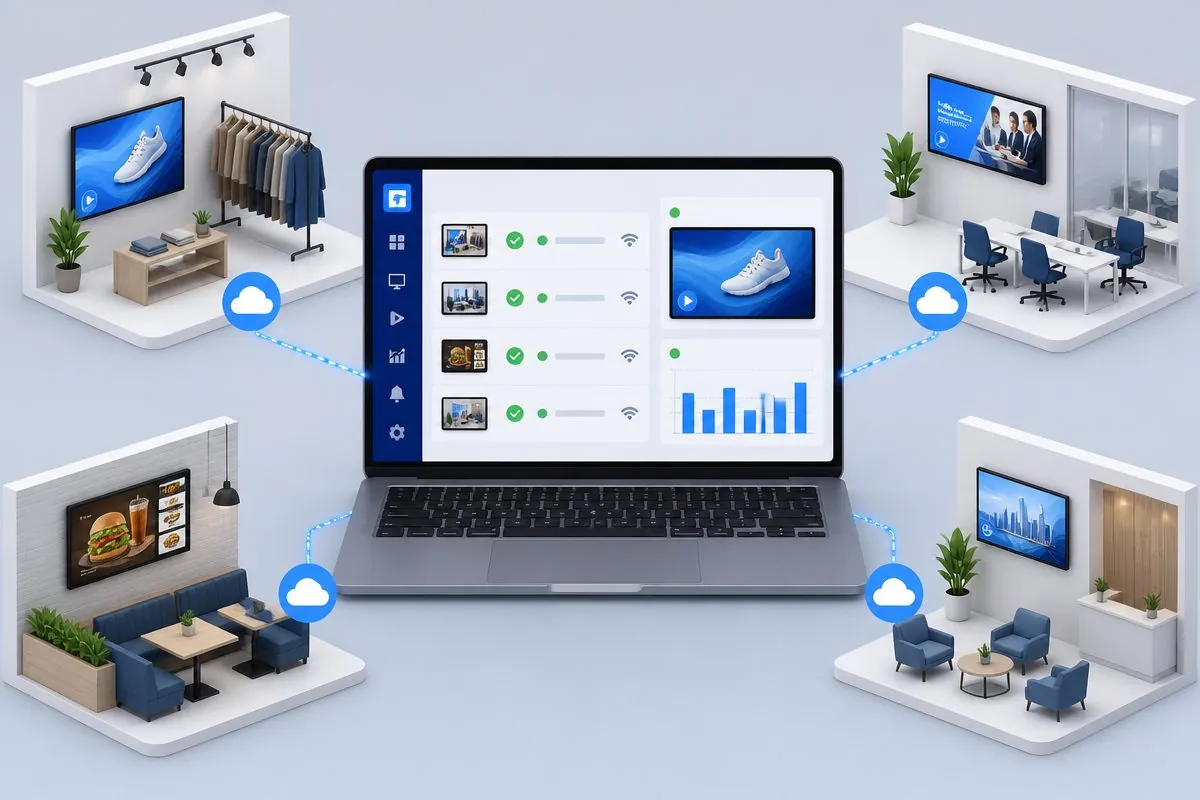
See which players are online, take a live preview to see what they are playing. Proof-of-play reporting confirms what ran and when, and our team is available by phone, chat, and email.
- Live device status and live preview
- Proof-of-play reporting for advertisers
- Phone, chat & email support included
The hardware and software behind it
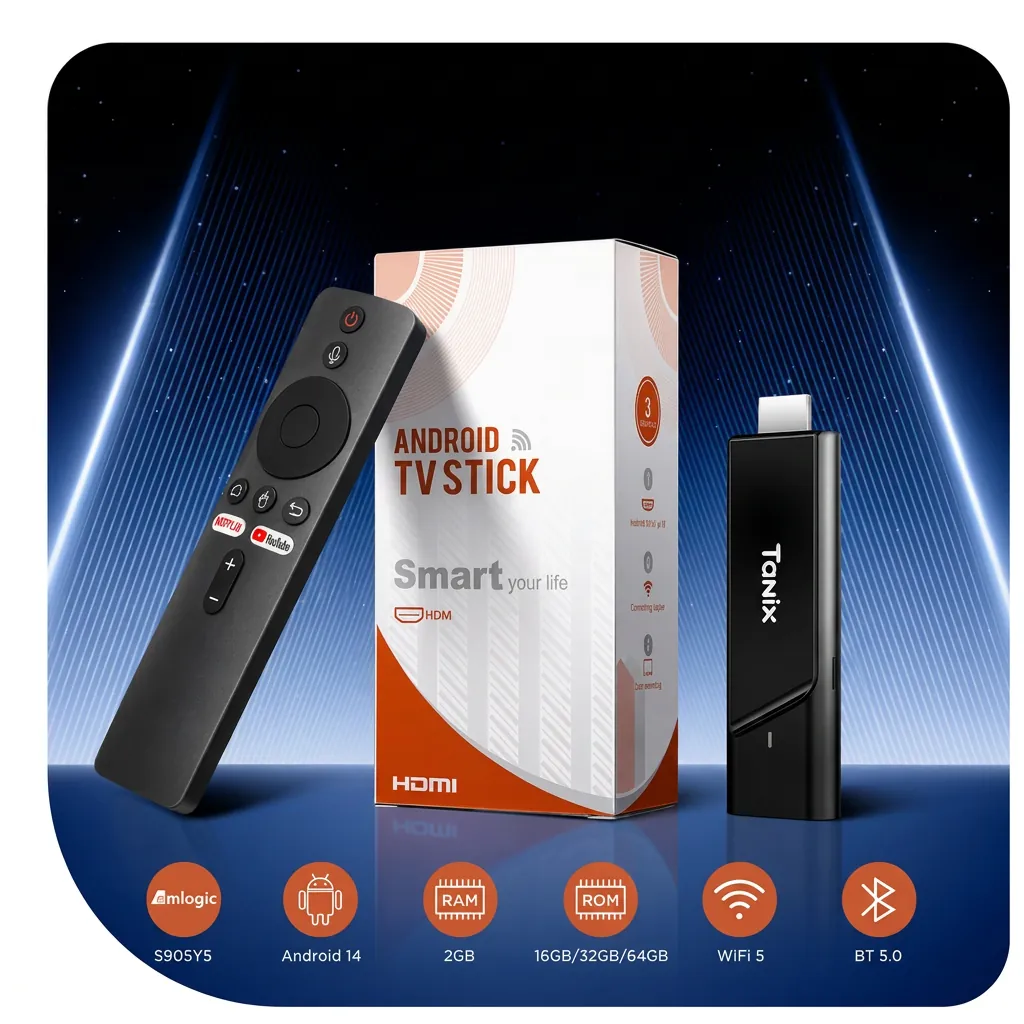
The TX9 is a 4K Android 14 signage stick that runs Sign Studio, our cloud CMS. Together they handle playback, scheduling, monitoring, and updates so your screens keep running unattended.
Setup questions, answered
- How long does it take to set up a digital signage screen?
- Most customers are live in under 15 minutes. Plug the TX9 into the HDMI port, connect it to Wi-Fi, enter the 4-digit registration code in Sign Studio, assign a playlist, and publish.
- What is the 4-digit code on my screen?
- When the TX9 connects to the internet it displays a 4-digit registration code. Sign in to Sign Studio, add a new screen, and enter that code to pair the player with your account. The screen then downloads its assigned scene automatically.
- Do I need a computer or server for digital signage?
- No. Sign Studio is a cloud CMS you access from any browser, and the TX9 player runs the content on the screen. There is nothing to install and no on-site server to maintain.
- What happens if the internet goes down?
- Each TX9 stores its scheduled content locally, so playback continues without interruption. When the connection returns, the player checks in and pulls any updates.
- Can I manage screens in multiple locations?
- Yes. Group screens by location, brand, or department and publish different content to each group from the same Sign Studio account.
- Do you help with the content design?
- Yes. You can start from our free template library, or our in-house creative team can design menu boards, promos, and motion graphics for your brand.
Ready to turn on your first screen?
Pick a license, add a TX9, and we will help you get your first playlist live.
Phone, chat & email support included Live in under 15 minutes